Category Archives: Baking

Potato Bread Rolls

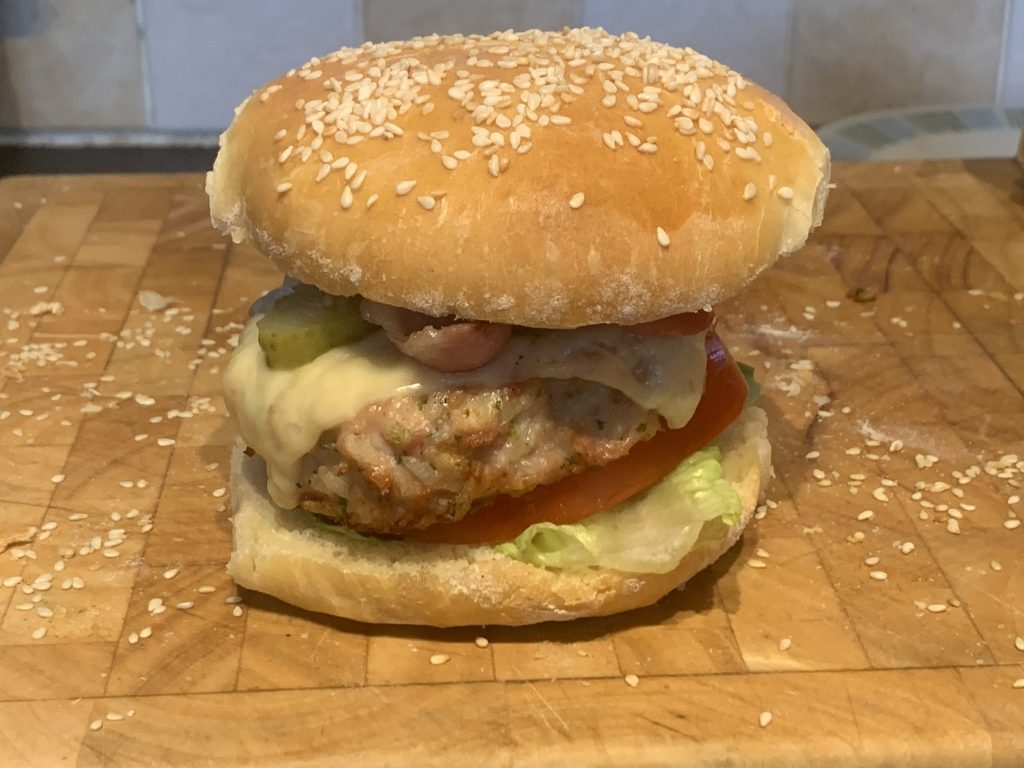
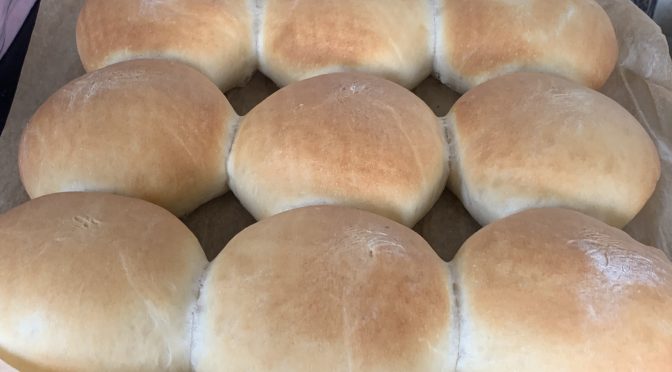
My recipe for soft bread rolls became a bit of a cause-célèbre back in the days when the sausagemaking.org forum was more active. I’m quite proud of it. But, I never thought it was that good for burgers – it fell apart too easily. I toyed with the idea of using a pretzel roll or even a pseudo-brioche, one that’s a lot less sweet – using butter instead of oil in my soft bread roll for example. However, I’ve settled on a roll made with potatoes, and not only potatoes but instant potato flakes. The idea for these buns comes from a post on the sausage forum that referred to a recipe on the cookistry website. My recipe is a slight adaption of that one using information learned from their site.
It’s great for burgers, pulled pork and things of that nature. My original soft roll is still best for a cheese and onion roll though!

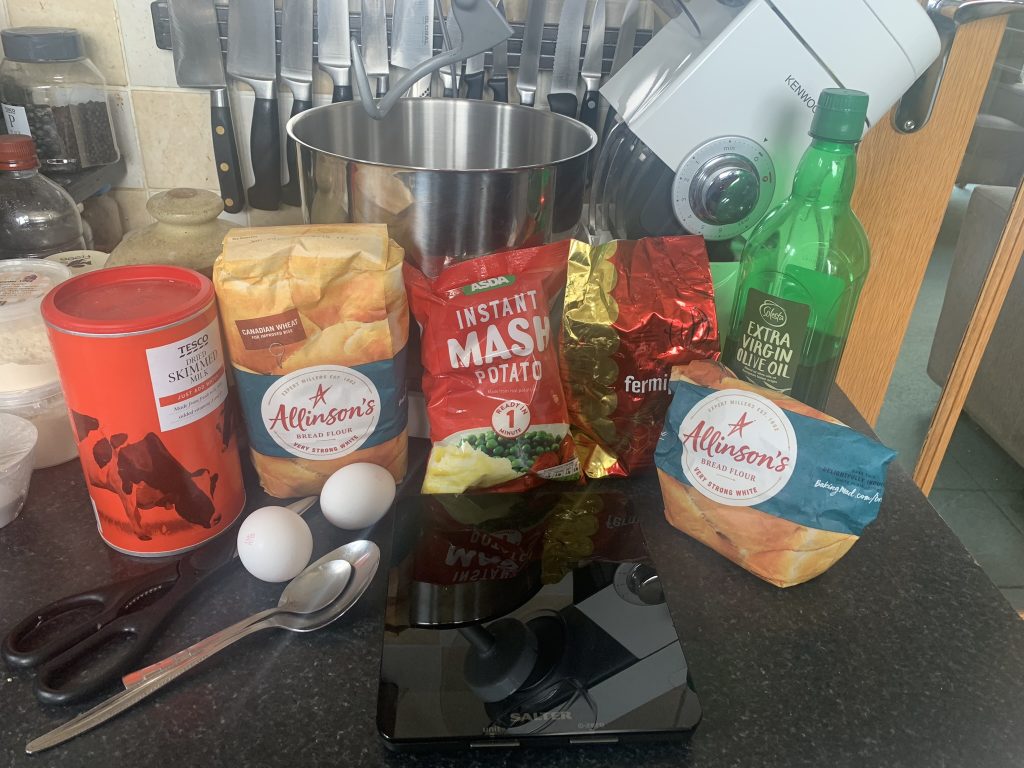
Ingredients for 18 large burger rolls

Strong white bread flour 900gm
Instant potato flakes 60gm
Luke warm water (38 – 43°C) 700gm
Instant Yeast 20gm
Salt 15gm
Egg yolks 2
Olive Oil 45gm
White Sugar 10gm
Non-Fat Dried Milk 20gm

I use ASDA’s potato flakes as they seem to have less additives than many others.

Method:
In a large bowl (The one from the mixer if you are using one) mix the flour with the salt and then add the yeast and mix again.
In another bowl, put the potato flakes, sugar and milk powder, then whisk in the water, egg and oil.
Mix the liquid with the dry ingredients and then mix/knead for 8-10 minutes.
Form the dough into a ball using as little extra flour as possible. Rub it with oil and leave it to rise in a bowl covered with a damp cloth or cling-film. It’ll want about 1 – 1½ hours until it’s doubled in size.
Divide it into 18 rolls – they’ll be about 100gm each.
Shape the rolls by turning the dough under itself as if tightening the top until it’s a smooth-topped ball, then flatten the ball – really flatten it well and push the ball of your thumb into the middle of it to create a dip (This helps keep a flattish top to the bun). The rolls should be about 4 inches in diameter at this stage.
Put nine rolls on a standard baking sheet (approx 12″ x 13″ (300 x 325mm)). Either flour the tray or use baking paper – you can also use semolina for a different finish. Add any toppings of choice using eggwash to stick them on.
Cover again and leave to prove until doubled in size – they’ll take careful handling now as they’ll probably be hanging off the edge of the tray. Cook at 175C (fan oven) until cooked – 20 mins or so.
Use your senses to tell whether they’re cooked but if in doubt check that the internal temperature is above 95C.
Sausage Rolls

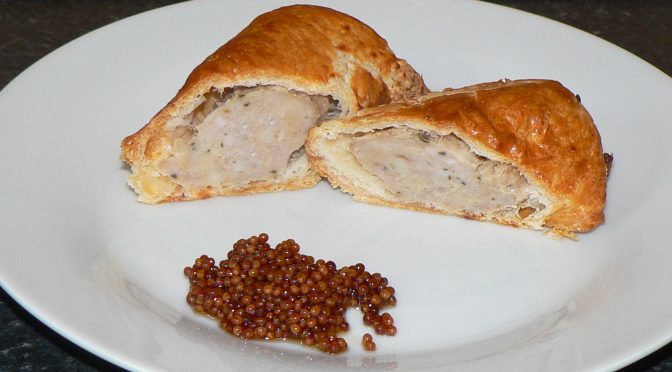
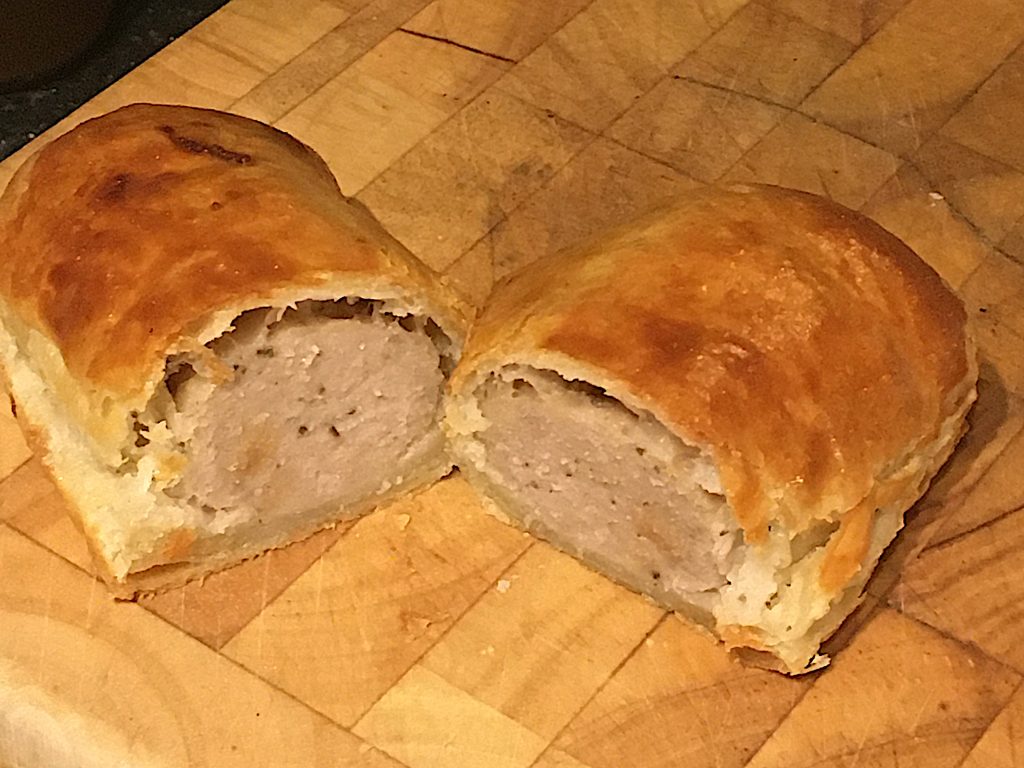
Having made the sausagemeat for rolls it’s a fairly simple task to make it into sausage rolls.

I prefer to use a rough puff pastry rather than a shortcrust or shop-bought puff pastry but these could also be used. I make the pastry using this quick rough puff pastry recipe.

I’ve dropped a clanger by not taking a photo of the sheet of pastry after it’s rolled out but I roll it to approx 250mm (10″) by 400mm (16 “). Square the edge off that’s nearest you. I will make 2 long rolls from this that I’ll then divide each one into 4 individual sausage rolls.

For approximately 100gm rolls use 170gm of sausage meat and roll pieces to form a long sausage to lay along the nearest edge. Then, lifting the pastry, roll it to just encase the meat. At this stage dampen the next inch or so of pastry with water (I think that water is better than egg wash for this) and roll the meat/pastry roll onto this. The roll can be cut away from the sheet at this stage.

Continue reading Sausage Rolls

Pâte sucrée (sweet shortcrust pastry) and Afternoon Tea

In 2014, I wrote:

Mum and Dad celebrated their Diamond (60th) Wedding Anniversary in 2014. As well as sending them to a local restaurant for a meal, we decided to have an afternoon tea.

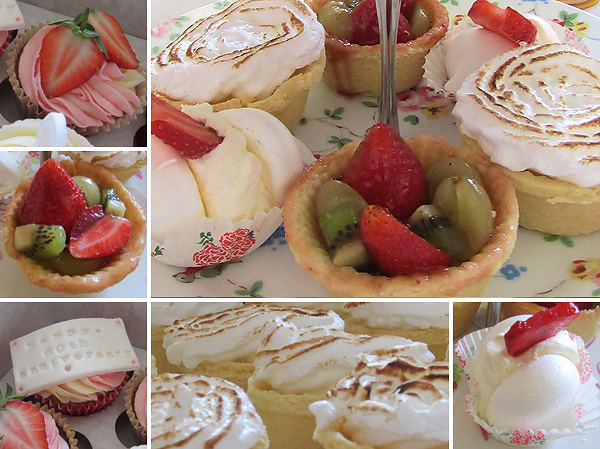
For me, afternoon tea is lots of small patisserie and cake items; oh, and some token sandwiches beforehand. I’m not one for scones and cream as part of ‘afternoon tea’; they’re for other occasions when they can be enjoyed on their own. Now, we’re not ‘The Savoy’, or even ‘The Great British Bake Off’, so I choose just a small selection of simple things: individual lemon meringue pies, fruit tarts, and meringues, along with cupcakes made by my daughter Hannah. The meringue uses up the egg whites left after the yolks have been used for the pastry and lemon meringue filling. Savouries were cucumber, egg, ham, and cheese sandwiches, some even had the crusts cut off!

‘Ere, how come when it’s lemon meringue it’s a pie, but when it’s fruit, it’s a tart?

Never mind, what I do know is that with pies or tarts, it’s all about the pastry – it needs to be strong enough not to fall apart but melt-in-the-mouth when you eat it. My method may not be the proper way but it works and results in a pastry case that’s more like shortbread than pastry.

Continue reading Pâte sucrée (sweet shortcrust pastry) and Afternoon Tea

Sourdough Bread

Originally posted in 2008:

Followers of this blog will maybe know of my embarrassment at being ‘famous’ for a recipe that is a clone (albeit superb) of a supermarket soft-bap. They’ll also know that I’ve had difficulty in coming up with a sourdough recipe that fits in with my lifestyle.

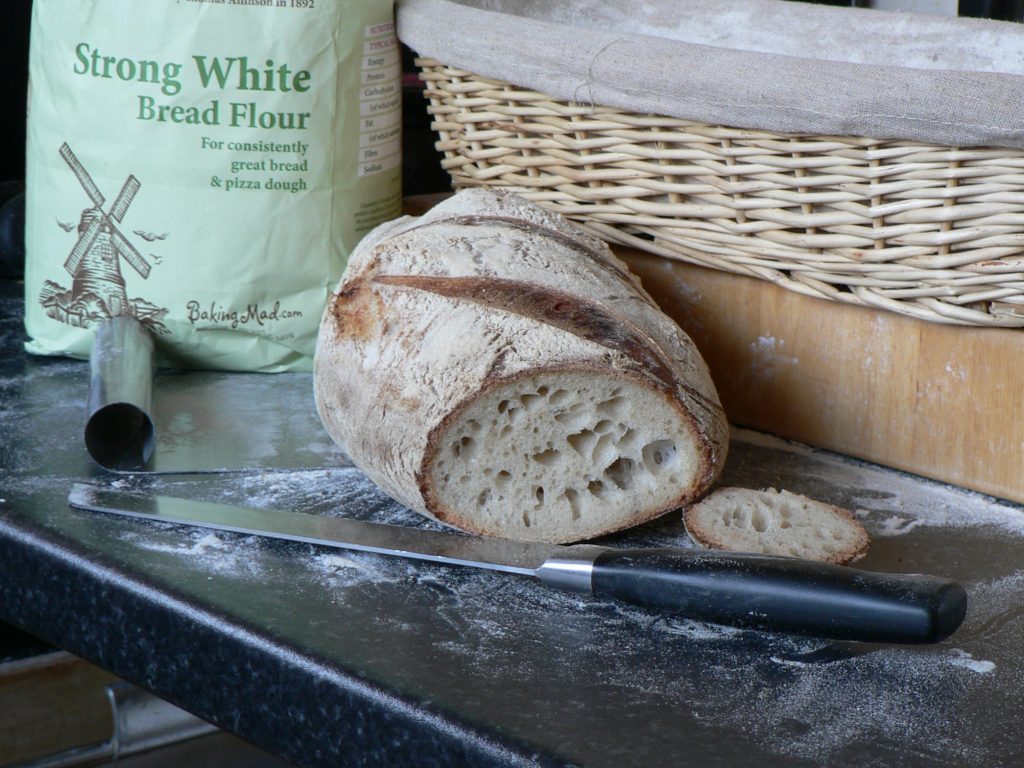
I’ve always felt that I’d make better sourdough bread if I had the ‘proper kit’ for proving it: a couche (proving cloth) or some bannetons (linen-lined wicker baskets), preferably the latter. Now the problem with this is that bannetons ain’t not cheap! Nice cane or wicker ones are anything between £12 and £45. Then low and behold, I don’t often get lucky but I was in a local trade wholesalers just before Christmas and they’d got 4 lined wicker display baskets for about a fiver! Just the job – identical in all but name. Having acquired the kit and then making a sourdough starter for a mate, when I watched last week’s “Fabulous Baker Boys” TV show and they made a sourdough loaf, I thought I’d better bite the bullet and have another go.

I decided to use the recipe featured on the TV programme (Fabulous Baker Boys, Channel 4, episode 4) but had major problems with the dough; theirs was a very wet dough, mine made to the same recipe was so dry that it wouldn’t come together. I ended up adding an extra 75ml of water and it was still on the dry side as sourdoughs go. I’ve asked a fellow blogger more used to these types of bread to have a look at it but I’m naturally loathe to say that the recipe’s wrong given that ‘Fabulous Baker Boy’ Tom Herbert has won ‘Baker Of the Year’ and his sourdough has won ‘Organic Loaf of the Year’ 9 times in the last 10 years! You’ll have to try it and see what you think! I’ll give my adaption of the recipe with a note of the changes.

White Sourdough Bread

300ml Sourdough starter
500gm Strong bread flour
275ml Water (200ml in original)
10gm Salt (a pinch in original)

A note about the salt: Tom’s ‘pinch’ of salt on the TV show was about the same as the 10gm that I’ve used. I based mine on the normal ratios of salt used in this type of bread.

I added all the other ingredients to the flour and then mixed it well in the Kenwood Chef and subsequently by hand. I left it to rise for a couple of hours and then shaped it, floured it all over, and put it into a basket lined with a flour-covered linen. The baker brothers then leave this to rise for 8 – 12 hours. I put mine into the fridge for about 16 hours and then gave it a couple or three hours to come back to temperature the next day. The loaf was then tipped gently onto a baking stone preheated in an oven at 240°C, the top was slashed, and it was baked for about 30 minutes, then cooled.

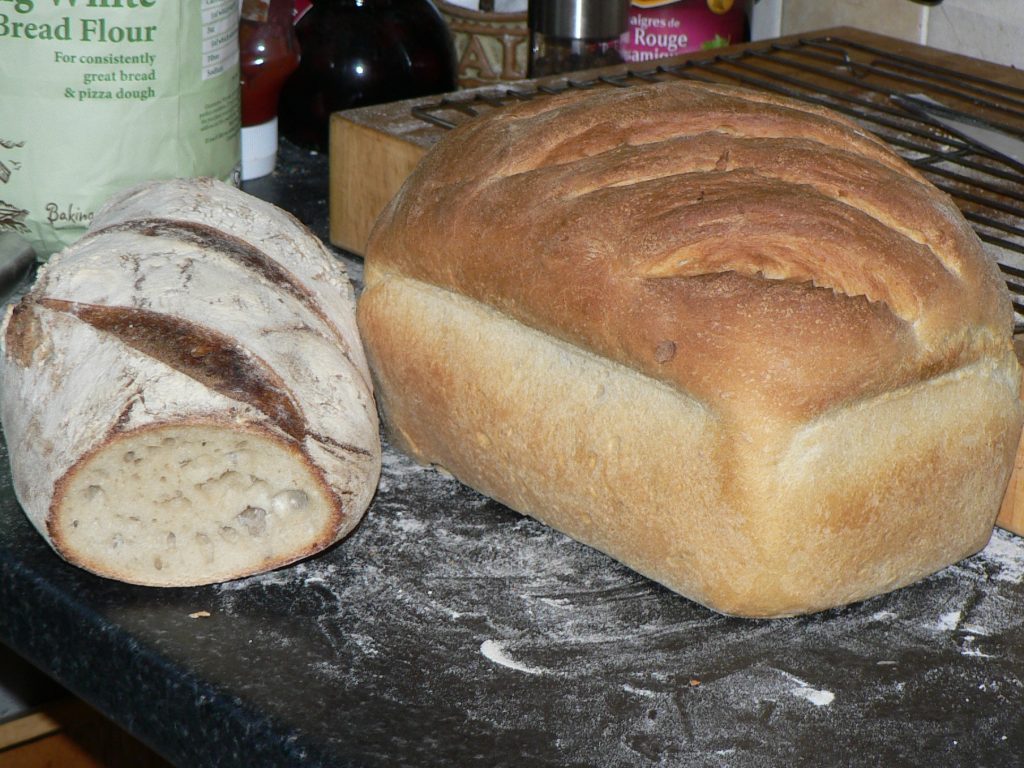
It has the classic thick crisp sourdough crust that demands better teeth than mine and an open textured crumb. It has a well-developed taste without being at all sour. All in all quite a pleasing result.

…and how did I know it would all work out so well? I didn’t, that’s why I baked one of my everyday loaves, just to be on the safe side!

Sourdough Starter

Originally posted in 2008:

The fascination of making bread with just flour, water and salt, no yeast, is intriguing.

The secret of success is a good starter. Now, undoubtedly the easiest way of doing this is if someone gifts you some of their established starter but in the absence of such a benefactor you’ll need to make one yourself.

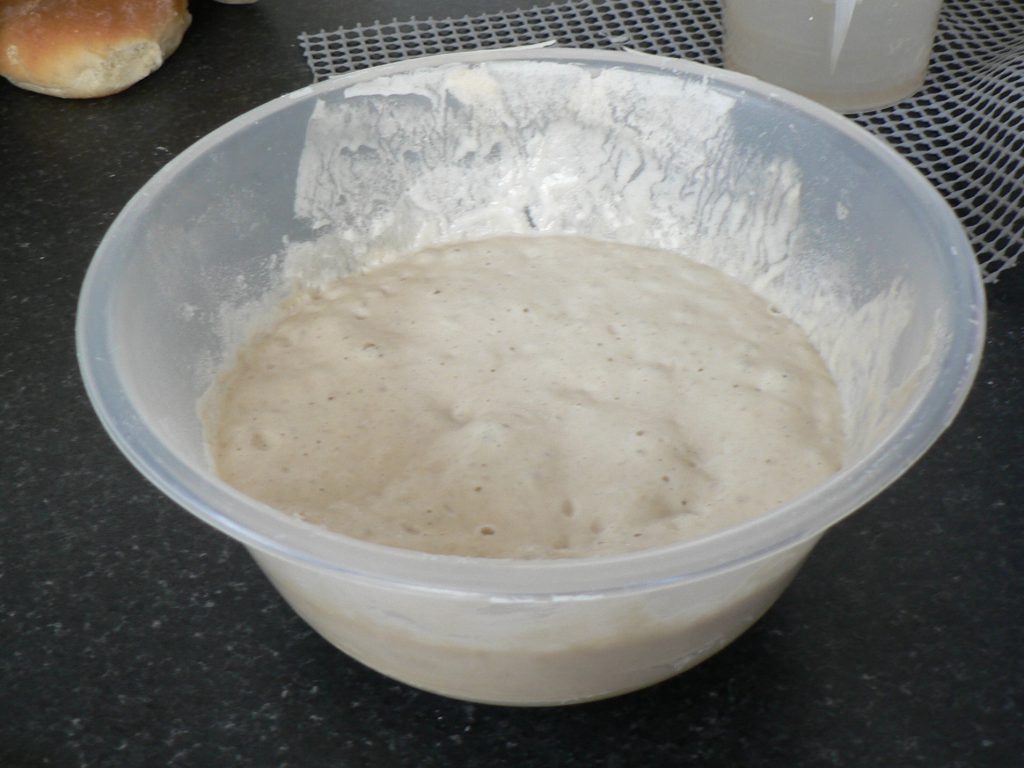
The easiest way of doing this is to mix 50 gm of bread flour and 50gm of water in a preserving jar (holding the lid down loosely with an elastic band rather than the catch) or a bowl with a plate on top – something that will keep things clean but allow airborne yeasts to colonise the flour and water mix. After a day add a further 50 gm flour and 50 gm water. You now have 200gm of flour/water mix. The next day and on subsequent days throw half of it (100gm) away and top it up with 50gm flour and 50gm water.

In a few days, you should notice air bubbles forming and after 4 – 7 days there should be significant bubbling within a couple of hours or so of adding the fresh flour and water.

The starter may smell beery. It may also look split – just mix it together it’ll be OK. In the event of it really smelling not nice – just throw it away and start again.

If you are not going to be making bread every day or couple of days you can store the starter in the fridge and just top it up weekly.

This is classed a 100% hydration starter: that is the water weighs 100% of the weight of the flour. This method of calculating recipes is known as baker’s percentages. They differ from normal percentages in that all ingredients are expressed as a percentage of the flour rather than the total amount of dough.

The Roughest Rough Puff

From 2007:

I always intend to prepare for Christmas in plenty of time, but it never seems to happen! One thing I do like to make is my own sausage rolls. There is no comparison between a homemade sausage roll, made with good (home-made) sausage meat and the awful frozen sludge-filled offerings at the supermarket. Uncooked commercially produced sausage rolls only need to have a 6% meat content!

For sausage rolls I make a quick rough puff pastry:

Ingredients
250gm Plain Flour
Pinch of Salt
125gm Butter
125gm Lard or Vegetarian Fat
135gm Cold Water
A small squeeze of Lemon Juice

Method

  1. Put the flour and salt in a food processor.
  2. Cut butter into 4 pieces, put 3 on a plate and 1 in the flour.
    Do the same with the Lard.
  3. Soften the butter on the plate in a microwave using the defrost setting. Do the same with the Lard.
  4. Add the water and lemon to the food processor and mix to a dough.
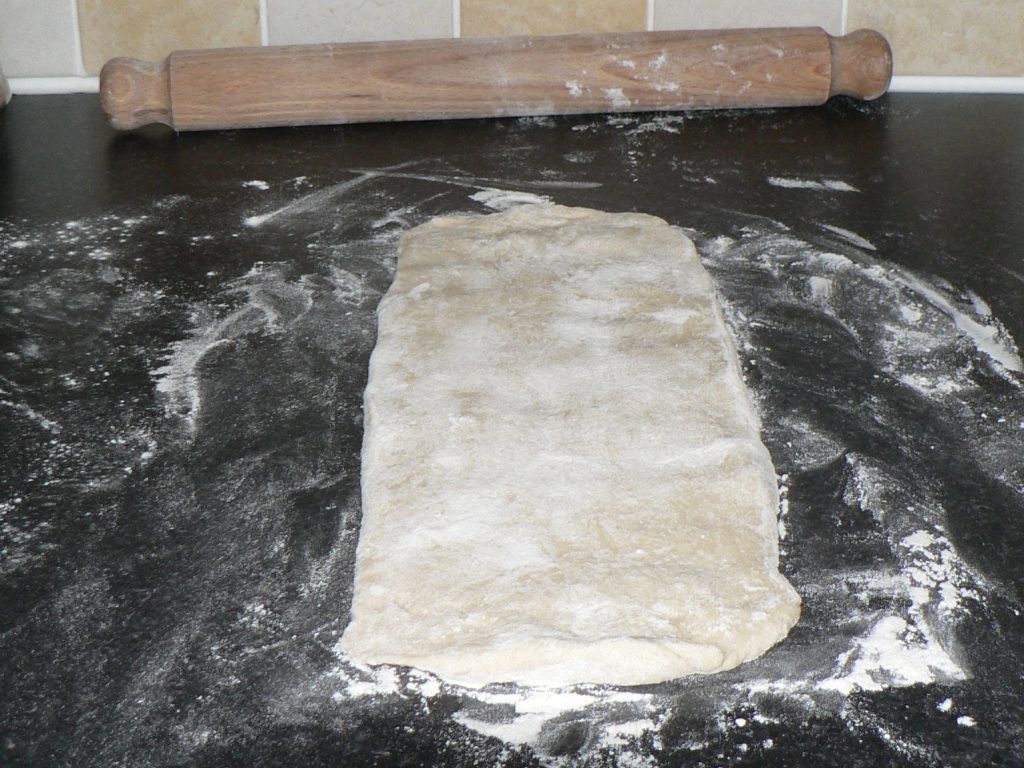
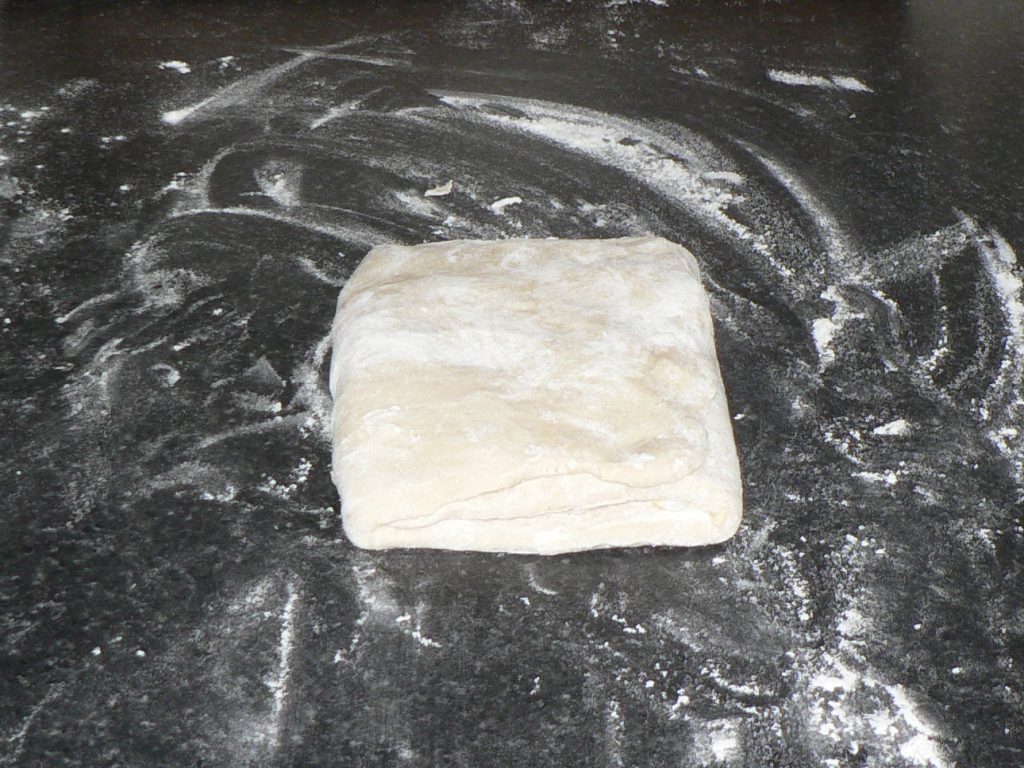
  5. Roll the dough out on a floured board into a rectangle about 3 times as long as it is wide (see photo)

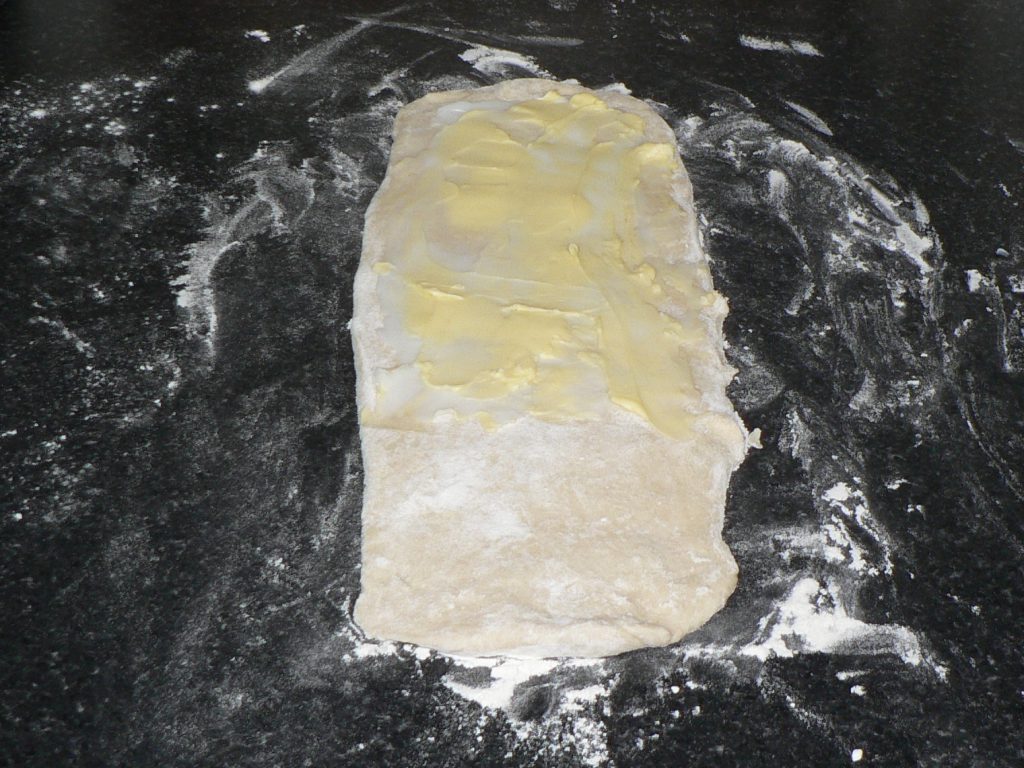
Spread the top two-thirds of the rectangle with one portion of both the butter and lard – just like buttering bread.

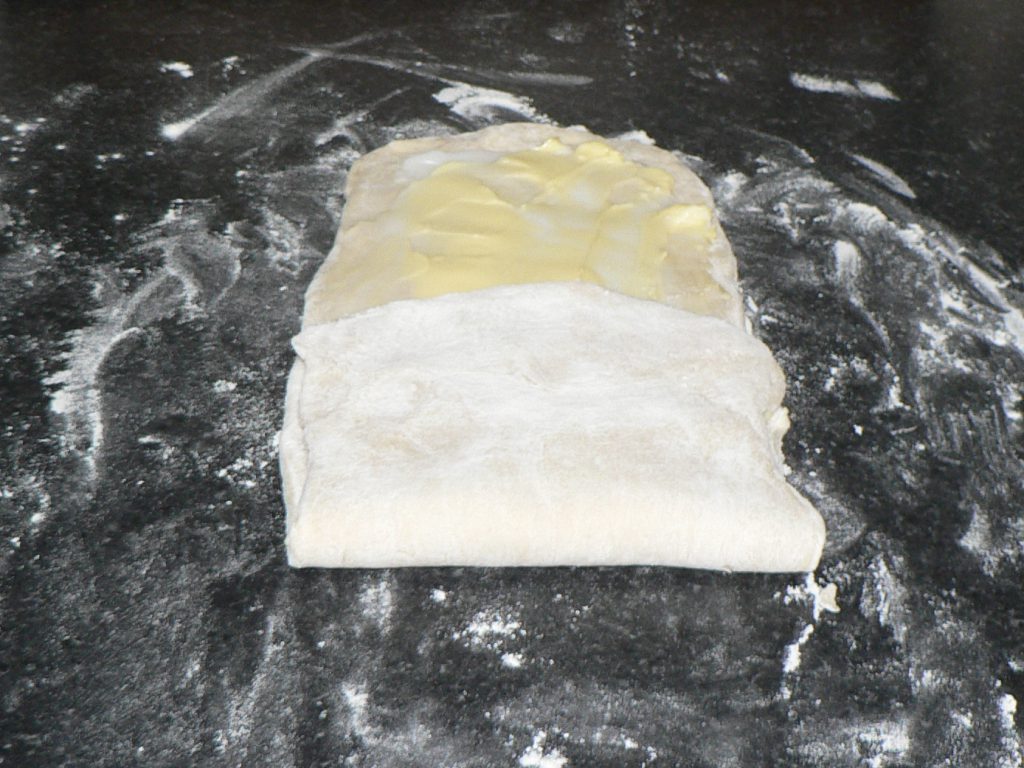
Fold the un-buttered bottom third up.

And then the top third down.

Turn the pastry ¼ turn.

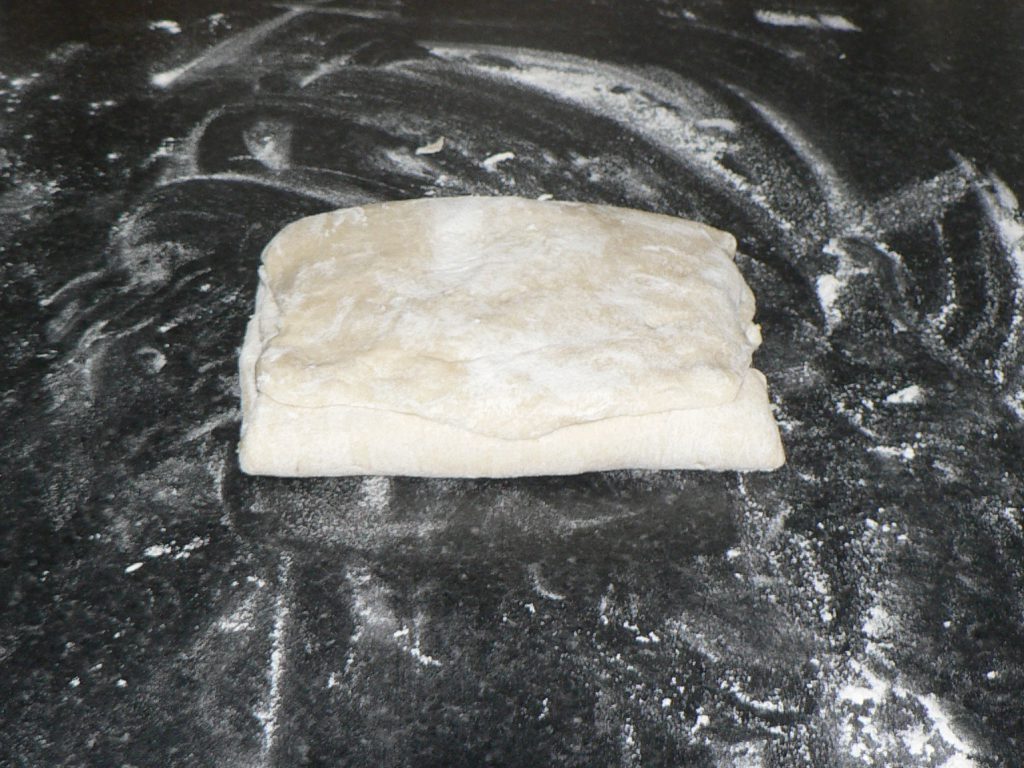
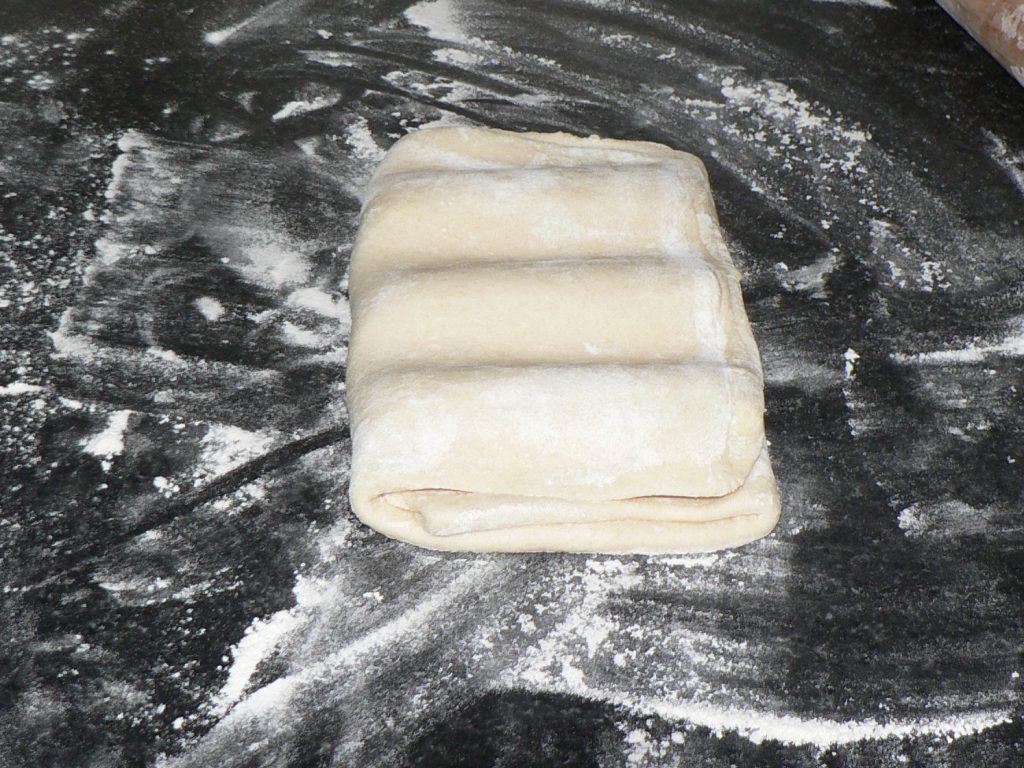
Roll the dough back out to the size it was originally and repeat the above twice with the other two portions of lard and butter. Then, repeat it one more time without adding any fat. You’ll end up with something like this:

I’m freezing this for later use as I need to make some more sausage meat. Had I have been organised, I would have had the fresh sausage meat ready so I could have frozen the completed sausage rolls ready for cooking.

Chelsea Bun(ish) Recipe

Originally posted in 2008:

Now I know if I call this recipe a Chelsea Bun, someone will come along and say, “Oh, no it’s not, a Chelsea bun is made with currants, lemon zest, or whatever and glazed with the milk of a particular species of Yak, only found on one lost island in Battersea Park!” Hence the ‘ish’ in the title!

I made these a couple of weeks ago from a recipe in Prue Leith and Caroline Waldegrave’s Cookery Bible but wasn’t 100% happy with them. Here’s my take on the recipe, it still needs fine tweaking, but hey-ho.

Dough
450gm Strong Bread flour
55gm butter
55gm sugar
1 tsp salt
1 tsp mixed spice
2 packets easy blend yeast
200gm milk – tepid
2 eggs

Filling
55gm butter
55gm sugar – plus a bit for tops
80gm raisins – soaked in tea or booze until plump
80gm sultanas – soaked in tea or booze until plump

To finish
Apricot or another glaze.

Method
Put the fruit to soak in sweet cold black tea, or any other fine beverage of choice – brandy would be good.

Melt the butter for the dough (only just get it really soft – not frying temperature). Put all the dough ingredients in a food mixer bowl and, using the dough hook, kneed for 10 minutes – it’ll probably be very sticky!.

Shape into a ball on a well-floured surface, return to the bowl, cover, and leave to rise until doubled in size.

Mix (cream) the butter and sugar for the filling together. I may add some cinnamon to it next time.

When the dough has risen, roll it out to a rectangle about 12″ (30cm) wide by as long as you can get it, maybe 16″ (40cm) if you’re lucky.

Spread the dough with the butter/sugar mix and spread the (well drained) fruit in a layer over it leaving the last ½” (1cm) uncovered. Roll the dough up into a ‘swiss roll’ and cut into 12-16 slices.

Put oven to heat on 180°C (350°F).

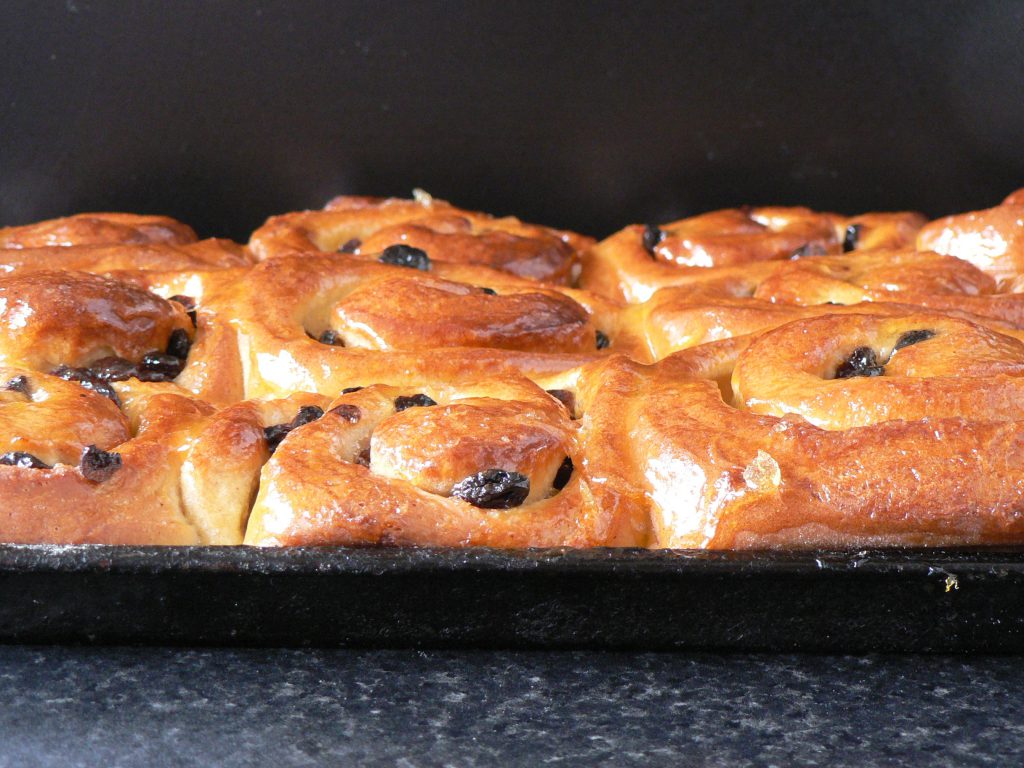
Place the coils of dough, laid flat, about ¼”-½” (about 10mm) apart in a roasting tin. Leave to rise until doubled in size and all pushing against each other.

Sprinkle with sugar and cook for about 20-25 minutes (the time will vary depending on the oven). Check after 10 minutes and, if they are going very brown, cover loosely with foil.

Cool and glaze with apricot glaze or any other glaze of your choice.

Enjoy!

I fancy varying the recipe next time and using chocolate chips and pieces of pear instead of the dried fruit.

Bacon and Cheese Quiche

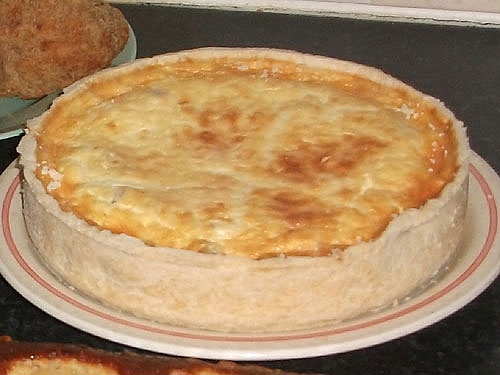
There you go, I’m being posh and calling it quiche! It’s really a good old bacon and cheese flan. It’s a pity that so many poor imitations of this superb rich savoury egg custard are sold by supermarkets and presented to the world on numerous buffets with cheap frozen sausage rolls and those damn miniature scotch eggs.

A good quiche is all about the quality of the ingredients, there’s few of them, so they all count. Use good dry-cured bacon (mild smoked if you like), good eggs, double cream not milk, and you won’t go far wrong. One other thing, and a very important one, is that most recipes (including Delia) will tell you to cook the quiche at too high a temperature. I’ve said this before, but I’ll say it again – cook the quiche at around 160°C or below; you’re making a savoury custard, not an omelette!

I was fortunate to receive Jane Grigson’s book “Charcuterie and French Pork Cookery”, for my birthday a week or so ago. You see, it’s not just me:

Bake in a moderate oven for about 40 minutes. Remember that a quiche is a savoury custard tart; it mustn’t cook too quickly or it will curdle.

I feel a bit of a fraud giving a recipe; it’s not rocket science, but here’s my take on it:

Pastry

6oz Plain Flour
3oz lard (or lard/butter mix)
about ¼ teasp salt
water

Rub the fat into the flour/salt until it resembles breadcrumbs, then add water a little at a time and mix until it forms a dough. In all honesty, I generally make a batch using 1lb flour, 8oz fat and 1 teaspoon of salt, in the food processor. Don’t add too much liquid or the pastry will be hard – about 1½ – 2 tablespoons (ish) should be about right for 6oz flour.

Use the pastry to line a loose-bottomed flan tin (approx. 7½ inch diameter) then prick the base with a fork, line it with parchment paper, fill with baking beans, or rice or dried beans, and bake it at 180°C for 15 minutes. Remove the beans and parchment and bake it for a further 5 minutes. Reduce the oven temperature to 160°C ready for the next stage.

Filling

6 – 8oz bacon
2 – 3oz grated cheese
¾ pint double cream
3 eggs
Salt and pepper

While the pastry is cooking, remove the rind from the bacon and discard it. Cut the bacon into small pieces and fry it, then put it on a paper towel to drain and cool. Mix the eggs and cream and season. Sprinkle the bacon over the base of the pastry followed by the cheese and then fill with the egg/cream mix. I do this while the pastry case is still on the oven shelf to avoid spillage. Bake it at 160°C for 40 minutes or so until it’s set.

It can be eaten warm but according to my wife is better eaten at room temperature the following day.

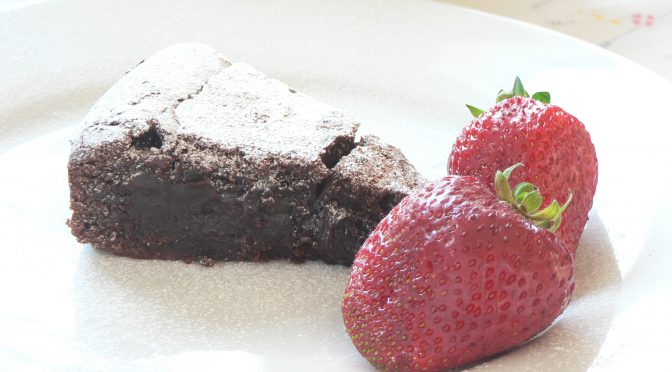
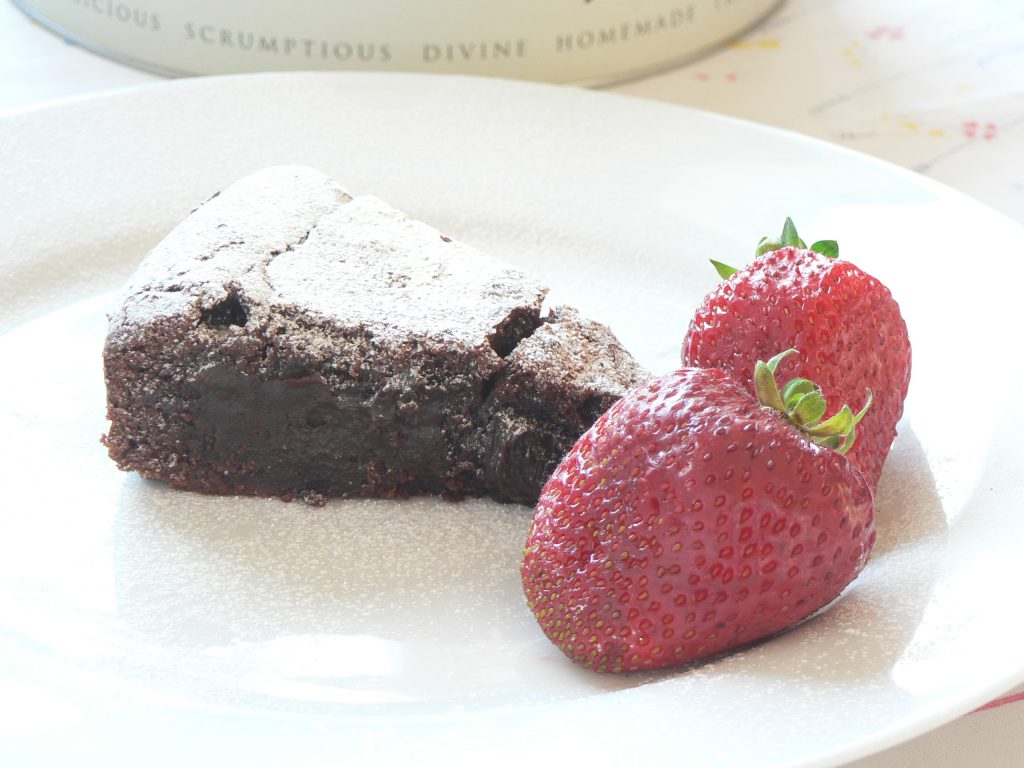
Chocolate Fondant Cake

I originally posted this recipe in December 2007 but it proved so popular at a recent buffet that I make no apologies for re-posting it here.

This cake is great! It’s really easy to make and more or less foolproof. It also feeds a fair number, as it is very rich.

Ingredients

3½oz (85g) 70% chocolate (broken up)
12oz (350g) butter (in small chunks)
2oz (60g) cocoa (sieved)
3floz (90ml) boiling water (approx.)
14oz (400g) sugar
3 large eggs
7oz (200g) plain flour

Method

1. Melt butter and chocolate, in a bowl over simmering water.
2. Make a paste of the boiling water and cocoa. Remove the bowl from the water, pour the cocoa mix over the chocolate/butter and mix with an electric mixer.
3. Add the sugar, mix, and then mix in the eggs, one at a time.
4. Add the flour, mix, and then beat it on high speed for 1 minute.
5. Bake at 180C in a buttered and floured 9-inch springform tin, lined on the bottom with parchment.
6. Check after about 30–35 mins. A big crack or two will appear when it is cooked but the cake will still wobble when shaken. Depending on the oven, this may take longer.

To finish

7. Allow to cool for 20 mins – remove from springform (do not turn upside down though until cold as it may leak).
8. Leave until cold before use. The cake should ‘ooze’ chocolate when cut.

It’s seriously good